
Bear Head Metal Zippies door installation, which appears to be a task requires the right equipment and knowledge to make the whole process easier. With this step-by-step guide, you will get to install these high-quality doors in your homes or workplaces perfectly. For any individual who chooses to do their work, knowledge of basic information about this sturdy door’s installation will guide the individual towards getting a safe and functional yet classy entry for themselves.
Why Bear Head Metal Zippies Door?
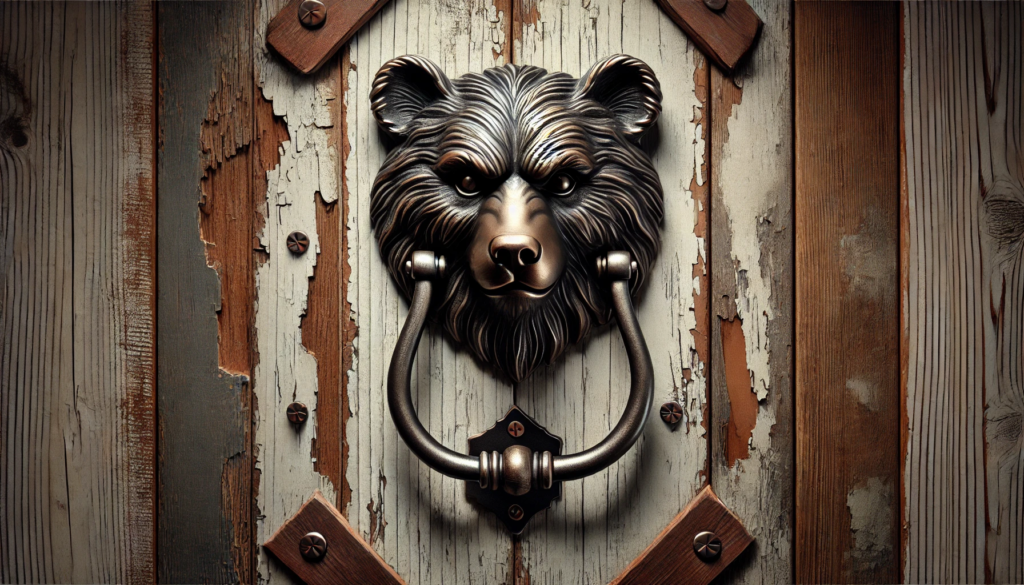
Knowing why Bear Head Metal Zippies Door is popular before getting into the installation process is essential. These doors are known for their strength, security features, and aesthetic appeal. Made from high-quality metal materials, they offer excellent durability and long-term protection against wear, weather, and potential break-ins. Whether it’s a commercial or residential solution, the Bear Head Metal Zippies Door is a great investment.
Main Advantages of Bear Head Metal Zippies Door
- Durability: They are very durable and resistant to rust, wear, and damage brought by natural elements.
- Good Security; well-constructed doors that deliver high-grade security or defense.
- Aesthetics: They are sleek, slender, and shiny, giving a classy appearance to any space.
- Versatility: They can be used in commercial places or residential spaces.
- Low Maintenance: This Bear Head Metal Zippies Door shall less have its maintenance, thereby working and looking great for an extended period.
Before You Begin: Tools and Supplies You’ll Need
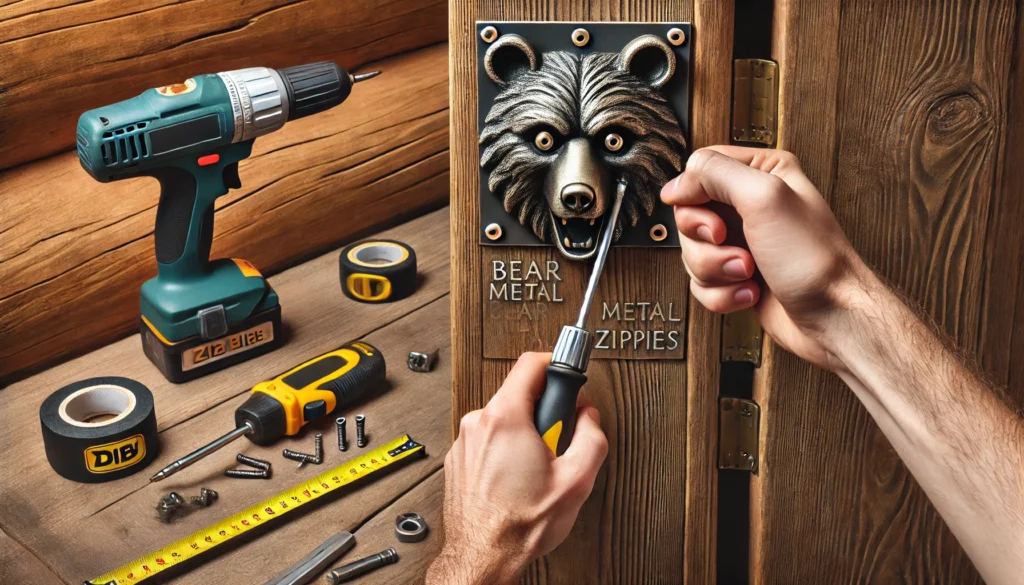
To smoothly get the installation done, you will need the proper tools and materials. These are what you will need in installing your Bear Head Metal Zippies Door:
Critical Tools
- Tape measure
- Level
- Drill
- Screwdriver
- Hacksaw or metal cutter, if necessary
- Hammer
- Wrench set
- Gloves and goggles
Bear Head Metal Zippies Door
- Door frame, if this was not provided beforehand
- Hinges (usually furnished)
- Screws or bolts
- Weatherstripping (optional)
- Door handle/lockset (optional)
Tip: Always check the manufacturer’s guidelines for any specific requirements that might be unique to the model you have purchased.
Step 1: Measure and Prepare the Door Opening
To install your Bear Head Metal Zippies Door, you must ensure that the door opening is the right size. Good measures are essential to a good fit.
How to Measure for the Right Fit
- Height Measure the height from the floor up to the top opening
- Width Measure the width of the opening at the top, middle, and bottom so that the opening is square
- Depth Measure the depth from the back of the wall to the front of the frame so that the door fits well in it.
Tip: Leave a small gap (about 1/8 inch) around the edges to allow for weatherstripping and to ensure proper door movement.
Step 2: Install the Door Frame (If Necessary)
If you’re installing a Bear Head Metal Zippies Door in a new opening, you may need to install a door frame. Follow these steps for a secure and accurate frame installation:
- Position the Frame: Place the frame in the opening and use a level to ensure it’s perfectly vertical and horizontal.
- Secure the frame: Once correctly positioned, then secure the frame using screws or bolts. Squeeze each screw diagonally as a way to ensure that your frame is always even.
- Ensure proper alignment of the frame; once secured to the opening the edges should appear flush.
Stage 3. Mount the door hinges
Attach the hinges to the Bear Head Metal Zippies Door after mounting your frame. The door typically has holes that are already pre-drilled for the hinges.
- Position the Hinges: Install the hinges approximately 6 to 8 inches from the top and bottom of the door.
- Screw the Hinges In: Using a drill and screws, screw the hinges to the door.
- Check Alignment: In case the hinges are not correctly aligned, allow the door to swing smoothly before installing.
Step 4: Putting the Door on the Frame
With the hinge attached, attach the door in the frame now.
Lifting the Door: With the assistant, lift carefully the door by aligning hinges with the suitable side of the frame.
- Lock the Hinges: Install the hinge pins and ensure that they’re well-locked to the door so that it does not get loose.
- Door Test: you test the door a few times to ensure that it swings with minimal drag or sticks
- Tight or Loose: If it’s too tight or too loose then you have to move the hinges a little bit
Step 5: Installation of Lockset and Handle
The lockset and handle will be installed for security and convenience.
- Mark Placement: Measure using a measuring tape to mark the correct placement of the lockset and handle on the door.
- Drill Holes: Using a power drill, make holes for the lockset and handle. The holes should be aligned perfectly for smooth installation.
- Install the Lockset: Install according to the manufacturer’s instructions with the latch mechanism placed in the door frame.
- Install the Handle: Mount the handle on the door, which should be mounted at a height that suits comfortable use.
Tip: If this process is problematic, call a professional locksmith.
Step 6: Installing Weatherstripping (Optional)
If you want the Bear Head Metal Zippies Door to increase energy efficiency and avoid those cold drafts of air, make sure to weatherstrip around this door. Just follow these:
- Clean Door and Frame Use a damp cloth to wipe out dust and dirt along the door’s edges as well as those of the door frame.
- Measure the Weatherstripping Measure the edges of the door with the prepared length of cut weatherstripping material.
- Apply the Stripping: Fix the weatherstripping along the door frame border so that it closes tightly
Tip: This weatherstripping ensures that there is warmth retained within the building and protects the door from nature’s elements
Step 7: Test the Functionality of the Door
Test the door after it has been completely assembled
- Check whether the door is positioned at an angle and also does not stick or drag.
- Test the Lock and Handle: Test all functions of the lockset and handle.
- Verify Proper Sealing: Check weatherstripping for sealing and lessening air drafts.
Step 8: Finishing Touches and Cleaning

Once done, run a final inspection and cleaning.
- Tighten All Screws: Run over all screws and bolts to ensure everything is securely fastened.
- Clean the Door: Using a soft cloth, clean the door surface. Remove all dust and smudges.
- Check the Door: Look for cosmetic imperfections or loose parts that need to be addressed.
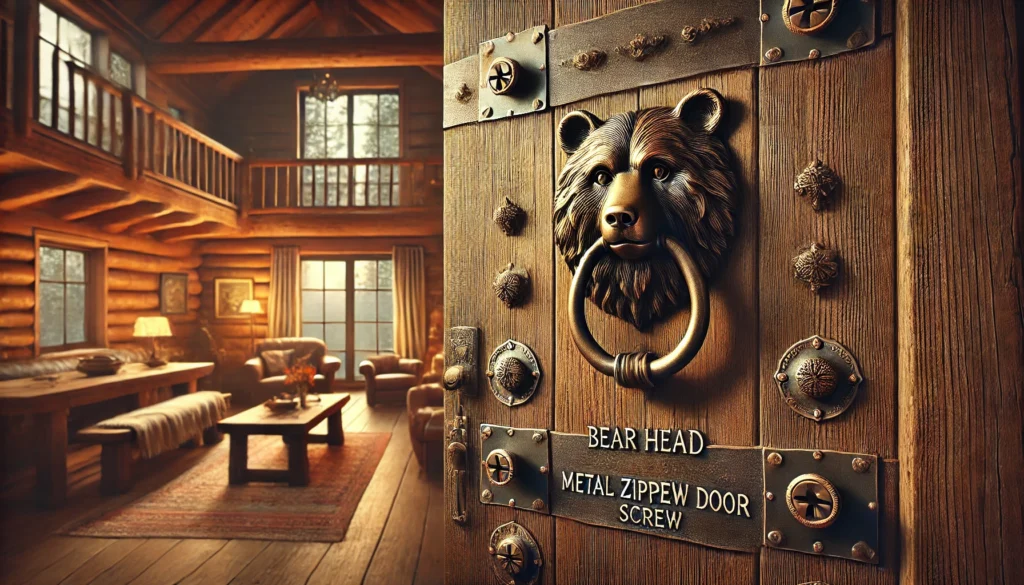
Conclusion: Enjoy Your New Bear Head Metal Zippies Door
Installing a Bear Head Metal Zippies Door is rewarding. It will add style and security to your home or business. This is how this easy procedure ensures that fitting a Bear Head Metal Zippies Door should be as effortless as it could make your place look even better. Be it making the outdoors of your home beautiful or adding beauty from within, there’s nothing that compares to this perfect, long-lasting door-the Bear Head Metal Zippies Door.
Lastly, final tip: If you’re not comfortable with any part of the installation, don’t hesitate to contact the professionals and do the job correctly.